Wednesday, March 2, 2011

duck a l'orange

Duck a l’orange
serves 4

1 duck
Kosher salt
8 cups chicken or duck broth
2 oranges, cut into 1/8’s
2 tablespoons sugar
2 tablespoons water
1 cup orange juice
1 cup chicken stock
2 tablespoons orange liqueur
1 tablespoon honey

Special equipment; propane blow torch

Rub some kosher salt into the duck.

Poach the duck in the simmering stock for about 5-10 minutes.  This tightens the skin and opens the pores.  Remove the duck from the stock and put in the fridge, uncovered, so it has a chance to dry.

If possible, use a blowtorch to singe the skin of the duck and remove any remaining feathers.  This can also be done if you have a gas stove on top of a direct flame.  If this sounds too adventurous, don’t worry.  It’s not essential to the success of the dish.

Preheat the oven to 325.  Place the duck on a rack over a roasting pan.  Roast the bird in the oven for 2 ½ hours.  Begin with the breast side up.  After 1 hour, turn it over and after the second hour turn it breast side up again for the final 30 minutes.  There will be a lot of fat given off.

To make the orange sauce, put the sugar and water in a small saucepan and heat until the sugar is dissolved.  Add the oranges and poach them in the sauce until the liquid begins to caramelize and darken in colour.  This should be done over a very low heat and for a long time, up to 45 minutes.

Bring the juice, stock, liqueur and honey to a boil and reduce until it is syrupy.  Add any extra liquid from the oranges to this sauce.

When the duck is finished and has had a chance to rest out of the oven, carve it into 4 pieces.  Spoon the oranges and sauce over the duck and serve.
caramelizd oranges
singing the duck after poaching
ready for roasting


Tuesday, February 22, 2011

how to make a standing rib roast

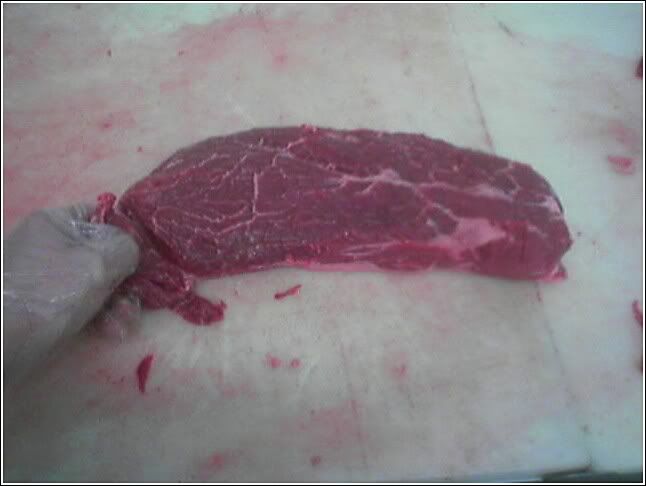
We began with a 2 bone rib roast.  It had aged in the fridge, unwrapped, (just lightly covered with a piece of butcher's paper) for several days until it was beautifully dry and slightly tacky to the touch.  Letting the meat dry age like this, does not cause the meat to dry out becoming tough.  In fact,  it becomes more tender. And you would only dry age a cut like a rib roast that is a sizeable piece of meat, not for a single steak and not for a roast that requires long slow cooking in liquid (a braise).  What the dry aging does is twofold.  The muscle continues to break down becoming more tender, and, also, allows the roast to air dry to the point that when you roast it for the initial 30 minutes on a high heat (400 degrees), a beautiful sear occurs which forms a crust.  This prevents the juices from running out of the meat while it's cooking. It acts as a protection while the roast cooks within.
You may choose a boneless rib roast or have one with the bones left on (it is usually a little less expensive per pound because you are paying for the bones). 
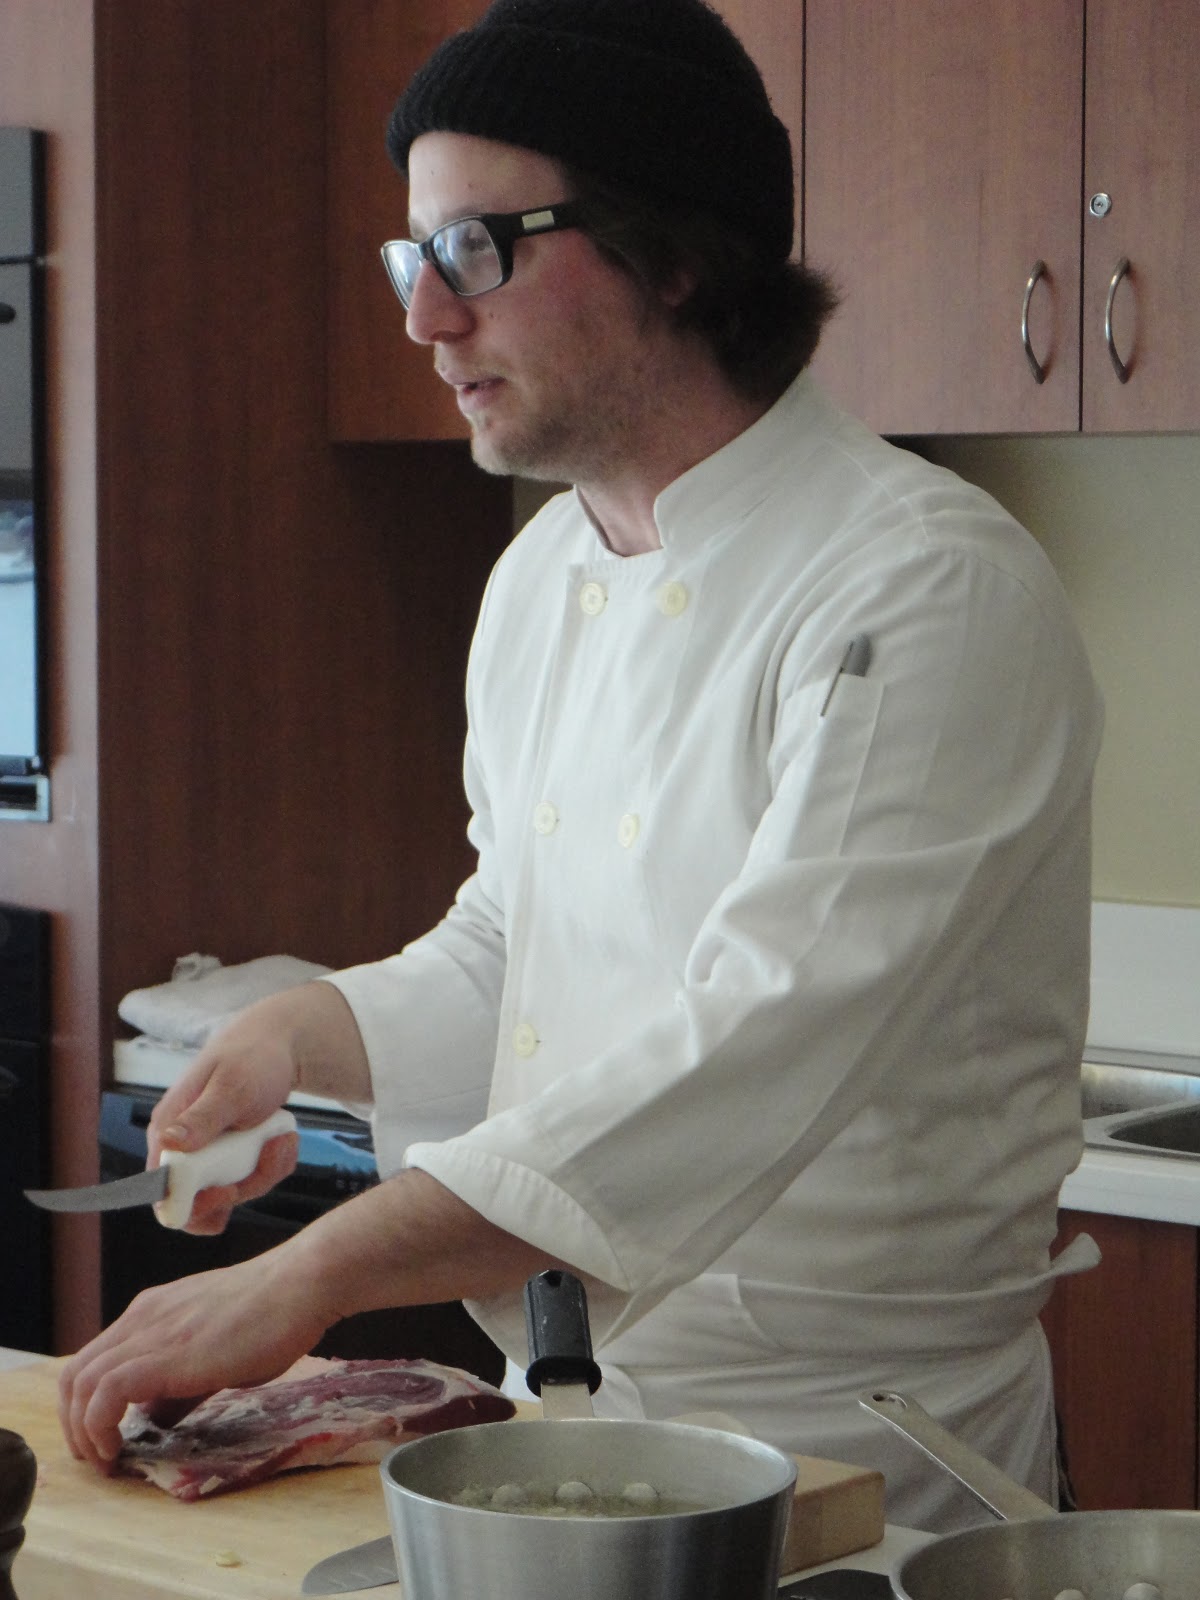
If you get a roast with bones, there will be two different types of bones.  There will be the rib bones (selecting a roast, you usually refer to the size you want as either a 2 bone or 3 bone or more-up to even a 7 bone roast) and the chine bones, which is a part of the back bone attached to the rib.  Ask your butcher to remove the chine bones for you. 
If you like, you can trim off the rib bones.  You still want to cook the meat sitting on the ribs because the meat cooks more consistently lifted out of any liquid that may escape, but you can also add something extra to the bottom of the roast as it cooks by inserting some seasonings between the bones and the meat. Spread some sliced garlic, a little olive oil, salt and pepper over the bones and then tie the roast back on top of the flavoured bones with a single tie using cotton butcher's twine to keep it in place.  This makes the bones more succulent and also adds a great flavour to the roast itself.  By having the bones separated, it makes carving the roast much easier too.
Your oven has been preheated to 400 degrees and you have your roast trimmed, seasoned and tied on a parchment lined baking tray.  With this method, your roast will not give up a lot of liquid, so there is no need to set it on a rack above the tray.  After the first 1/2 hour, referred to as the "30 minute sizzle", where the sear happens, lower the temperature to 300 degrees for the remaining 30-45 minutes.  (Remember, this is a 2 bone roast weighing approximately 4 1/2 pounds.)  When you take it out of the oven, you must let it rest a further 20-30 minutes.  This allows the meat to finish cooking and for the juices to run back into the meat rather than onto your cutting board.  You can cover it with a tin foil tent to help keep it warm.
Remove the string and place the ribs on your serving tray (or save them for cook and cook's helper).  To make the whole carving situation easier, cut the roast in half crosswise from where the top is, straight down to where the bones were, perpendicular to the way you will slice it.  This makes a flat surface on which to slice the roast.  You should be able to get 4 generous slices per half, so this roast yields 8 slices.
Rare, tender roast beef ready for serving.
There you have it.  One of the most elegant cuts of beef, treated simply with knowledge and respect, producing a most memorable dish.

follow up to Denise's question about beef for stir fry

I dropped in at one of my favourite butcher shops this morning and had a very frank and open discussion about a cow's shoulder with Ilan, the butcher.
When I asked for beef for stir fry, he first showed me a london broil.  When I started to explain about the top of the (shoulder) blade, he then directed me to a minute roast which sounds exactly like our flat iron.  I asked him why it was less expensive than the london broil (which he also said comes from the shoulder) and he said it has to do with demand.  People really like the minute roast for barb-q-ing and it sells like "cakes" in the warm weather.  But just because our grills are under snow, it doesn't mean we can't be using our oven broilers.  This definitely looks like a beautiful cut of meat, with it's marbling ensuring its tenderness (as tender as a women's heart, Ilan assures me).
butterflied minute roast aka flat iron

butterflied minute roast opened up

The price on the london broil was $32.90/kg.   I definitely know that the min(ute) roast is a better cut, even though it is $31.57/kg.

From the pictures you can see I intend to use the strips for stir fry tonight and the other portion is marinating in a little wine.  I'll broil it for another dinner this week, slice it thinly and probably serve it on top of quinoa or mashed potatoes.  If there's any left, I know it will be a hit in the lunch box.

Sunday, February 20, 2011

what beef cut to use for kosher Chinese stir fry?

Thank you to Denise for this great question.  She wonders;

"what type of meat do the kosher chinese restaurants use that makes their stir fries so tender. Pepper steak is always chewier than what Ive eaten.
Is the meat tender because they tenderize it with MSG? Love to hear your thoughts."

Pepper steak is a cut that has alot of connective tissue in it which results in a tough piece of meat.


"I learned from a Chinese chef to use the 'flat iron' aka 'London broil'."  Eran answers.
(Now remember that London broil is a term that describes a cooking method.  It is not a specified cut, like a rib steak.  It can be taken from different parts of the animal, although it generally refers to a lean, tougher cut, marinated, then grilled or broiled, and sliced thinly across the grain -n.w.)


So what's a flat iron? 


The flat iron is from the top blade, which is off the shoulder.

This is a picture of a boneless shoulder.  The top blade is the piece on the right.
Normally this muscle is cross-cut into blade steaks. However, these steaks are tough and full of connective tissues (gristle). Instead, Flat Irons are cut from the two layers of the top blade and have all of that connective tissue removed. When sliced thin, on the bias, incredible marbling is apparent.
Shown after removing the outer connective tissue and fat layer.
Removing the inner connective tissue.
Ok.  That's enough information about the cut of meat we recommend.
Next to the technique (which is just as important).  Marinate your strips of meat in soya sauce and cornstarch overnight.  Remove from the marinade and pat dry.  Poach the meat quickly (2 minutes) in simmering chicken stock and then use in your stir fry.
It may seem like extra work, but the results definitely make it worthwhile.

*with thanks to the blog, Confessions of a Butcher, for the pictures.


Thursday, February 17, 2011

roast chicken

Unwrap the package and remove the string holding the legs together. Refrigerate uncovered so it can dry a bit.
Remove your bird from the fridge long enough before cooking so that it comes to room temperature (an hour or so should suffice).
Preheat your oven to 400 degrees.
Line a baking sheet with parchment paper.
Make sure that the bird is dry inside and out.  You can season the inside of the bird with salt and pepper, but with kosher birds being salted, it's probably not necessary. 

With the legs facing you, stuff the cavity with;
  • a head of garlic with the top sliced off exposing the cloves, 
  • a few sprigs of fresh thyme, and
  • a half or large piece of onion
so that the ribcage is well supported and the breast meat is plumped up.

Truss the chicken as shown in the video, "preparing chicken for roasting". 
http://www.youtube.com/watch?v=ven3kplmQXs  This is very important, as creating the compact shape for the chicken when it is raw makes everything cook better - more moist, more even and more attractive.  Remember to remove the wishbone.

Rub a little oil, salt and pepper all over the skin.  This helps with the crisping.
Set your chicken on the tray and create a 'circle of salt and oil', if you like, to contain the juices from flowing.

Roast the bird for about 55-60 minutes or until nicely browned. If you are adding vegetables to the
chicken, remove the tray from the oven during the last 15-20 minutes of cooking.  Scatter the vegetables around the chicken and return it to the oven for the final roasting. 
(Preparing the carrots and potatoes will be discussed in an upcoming blog.)  Remove from the oven and let it rest for a good 15-20 minutes.  This resting period allows the chicken to finish cooking.  It also lets the juice settle back into the meat. 
Follow the videos to improve your carving skills; 

You can make a lovely finish to the chicken, after it is carved, by serving with a citrusy grapefruit sauce.  It's simple.
Segment 1 red grapefruit by cutting in between the membranes after removing the peels.  (This technique was taught in the Shabbat class.)  Save the juice.  Boil the juice with 1 teaspoon soya sauce and 1 teaspoon mustard until it is slightly reduced and syrupy.  Add the grapefruit sections back in to warm.  Spoon the fruit and syrup over the chicken pieces and serve. 

understanding meat...understood

By making review notes for understanding meat, we will try to help you integrate your class experience.
We worked with beef, duck and chicken and demonstrated classic preparations* to lay our foundation.
First we spoke about selecting meat.  We learned about the anatomy of the cow and defined what makes meat kosher.
Next we discussed storing meat and infusing flavour.  Remember, bringing your meat to room temperature before cooking makes the difference.
The cooking techniques taught, for example; roasting vs. baking, searing and braising...will take your food to a whole new level. 
Before carving, Rest. Your. Meat. Our videos (which are being posted on youtube) will remind you of the gentle touch shown.  Serving was simplified and demystified. As well, we talked about how to keep your roasted meats warm for Shabbat. And finally, preserving was illustrated with duck confit.
Through future blog entries, we will review each one of these sections and post our recipes. 
Please remember, that a recipe is a combination of techniques and methods.  It is a set of instructions to guide you through the task of preparing food and comes alive in your hands.  Awesome responsibility, isn't it? 

*recipes coming soon

Thursday, January 13, 2011

thoughts on our class; understanding meat

So I was asking myself how a cooking class gets born to life and what information we (the teachers) discuss to share with our students?  And last week I get it, in two ways something extra ordinary happened.   We received in the restaurant  a “prime” beef ,I will not go in to the “A” “AA” “AAA” grading of beef now (leave something to the class) but “prime” is the rolls royce of beef.   It’s fatty and marbled and full with flavor-very rare to find in the kosher industry for many reasons.   I assume that many people in the kosher circle will not pick this type of meat in the store because “it’s too fatty” but after cleaning the fat, I thought they don’t know what they are missing!   And then I realized; we are not teaching, we are sharing our passion for greatness in food.